Once you have upgraded your page to a community and created your opportunity, you can then design and customise the assessment process for those applying for the opportunity.
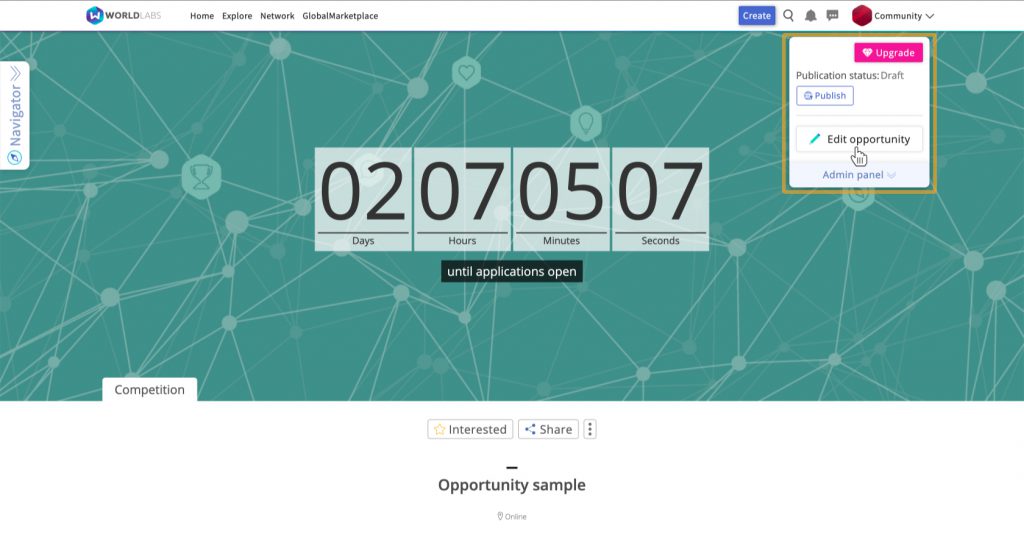
1. Make sure you are acting as your community, then visit the relevant opportunity page and click “Edit opportunity”, which appears beneath the fixed menu bar at the top right of your screen. This will open the edit form.
From the ‘Assessment Process” tab, you can then select whether you want to use WorldLabs’ in-built assessment tools to run your selection process, link to third-party assessment tools, or avoid using a selection process all together. Note that this article focuses on using WorldLabs’ assessment tools.
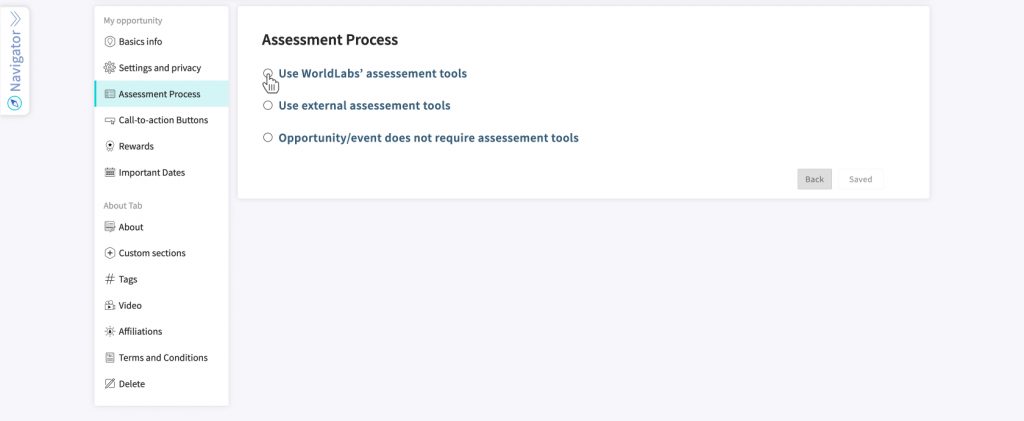
2. Once you have selected “Use WorldLabs’ assessment tools”, a new form will appear. Within this form, you can:
- Set the dates on which applications will open and close.
- Customise the call-to-action button that will appear towards the top of your opportunity page. This button will enable users to commence the application process. Note that this button will only be visible whilst applications are open.
- Determine who is eligible to apply (for example, only individuals or both individuals and organisations).
- Stipulate whether users can submit multiple applications.
- Specify whether users must attach a WorldLabs project as part of their application.
- Determine whether judges will be able to view the name of the users they are assessing.

Once you have selected the relevant settings for your application process, click “Save” at the bottom. This will exit the edit form.
3. Next, click the “Assessment” tab under the “Admins only” heading in the fixed menu that appears down the left-hand-side of your opportunity page. This will open up a new form that is split into the following categories (see the blue tabs along the top of the section):
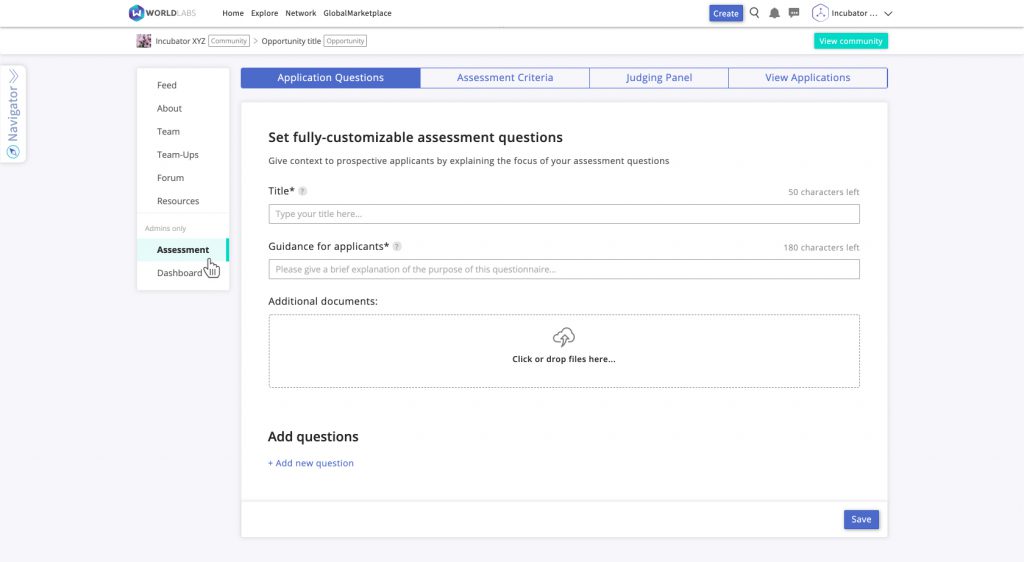
- Application Questions
- Assessment Criteria
- Judging Panel
- View Applications
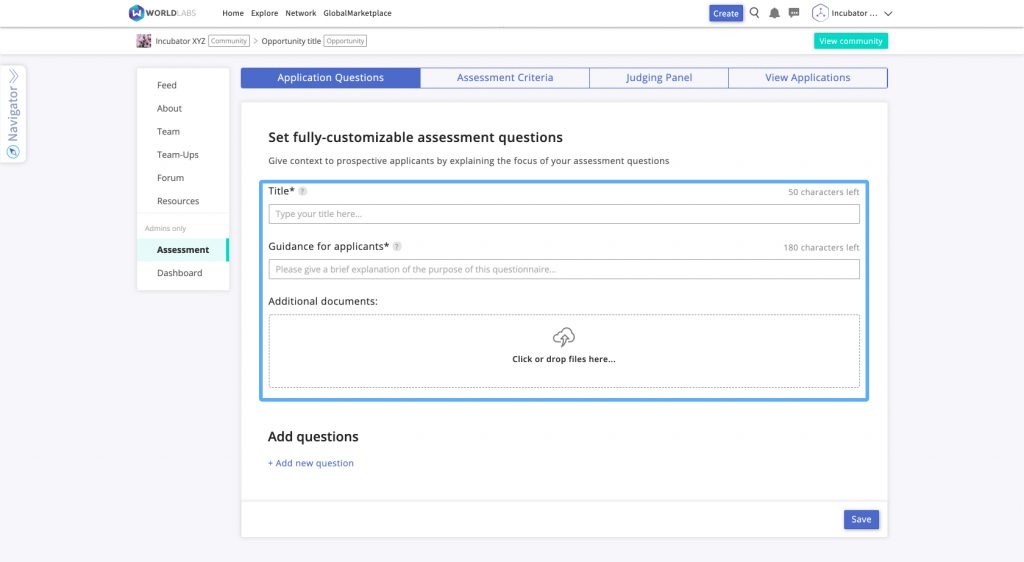
4. In the Application Questions tab, start by including a title and description that will appear at the top of your application form, as well as any guidance and supporting documents to help steer applicants through the process. You will then be ready to start building your bank of application questions.
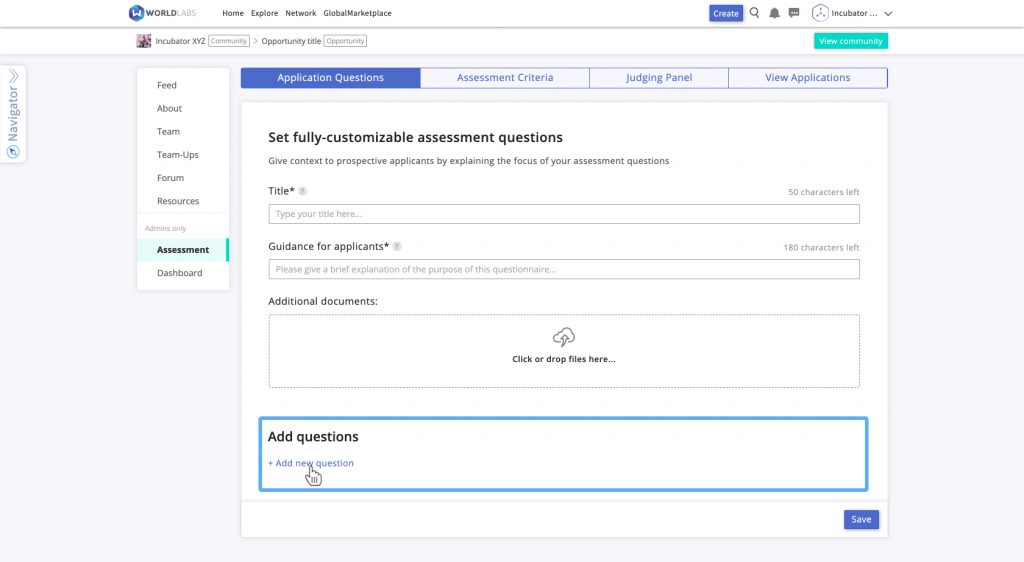
To add a question, click “+ Add new question” at the bottom of the form.
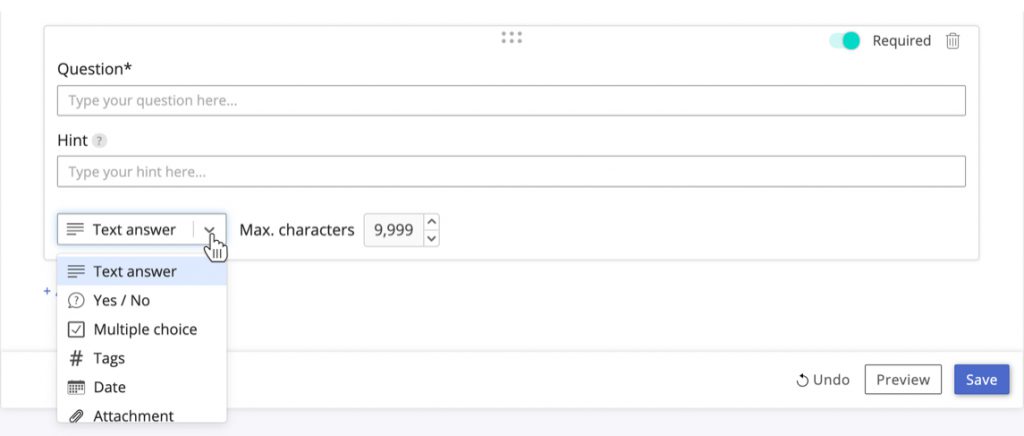
For each question, you can specify whether the applicant – when responding – should select from various multiple choice answers, type a text answer, upload an attachment, pick a date or choose relevant tags. You can also set character limits for text answers.
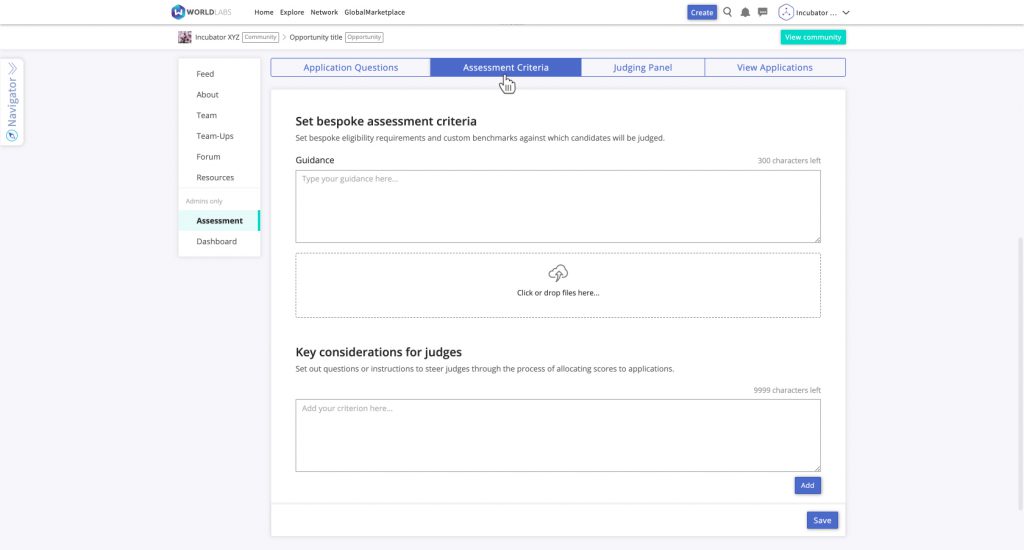
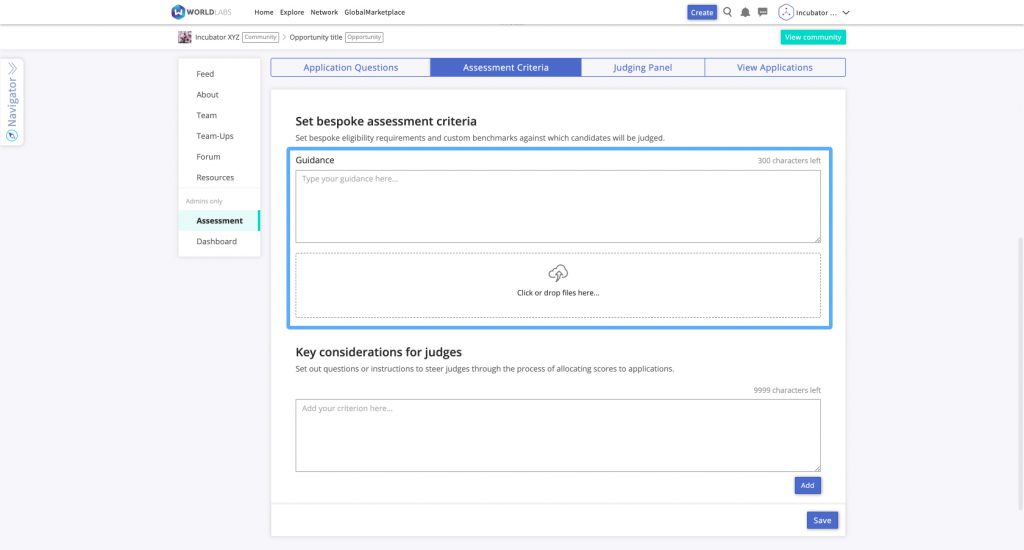
5. In the Assessment Criteria tab, you can include any guidance and supporting documents to help steer judges through the assessment process.
You can specify your key criteria in the box under the “Key considerations for judges” heading. If you type one criteria and click “Add”, that criteria will be added to a list at the bottom of the form. Repeat this process for each criteria that you want the judges to consider.
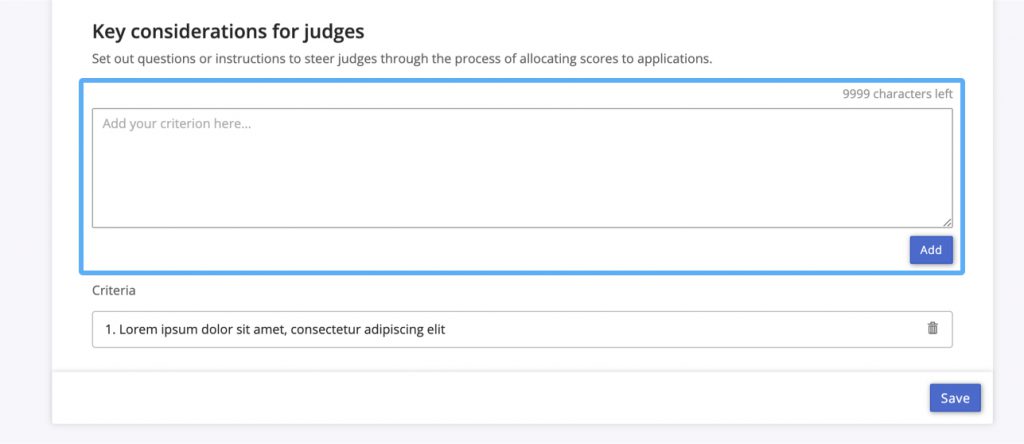
Note that you need to add the criteria in the order in which you want them to appear, as this order can’t currently be amended (without deleting entries and starting again).
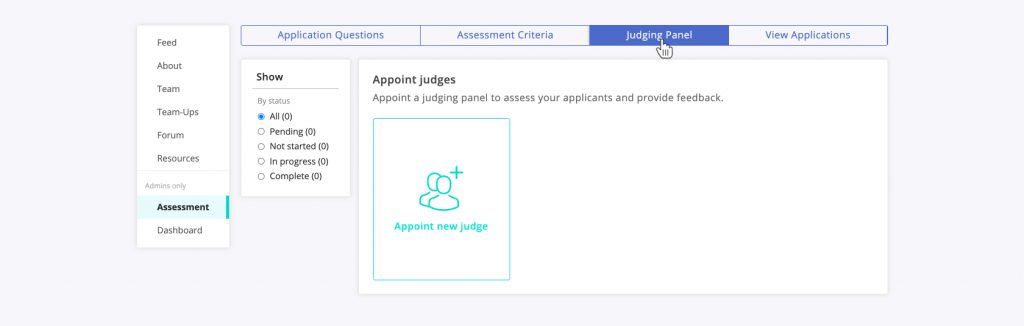
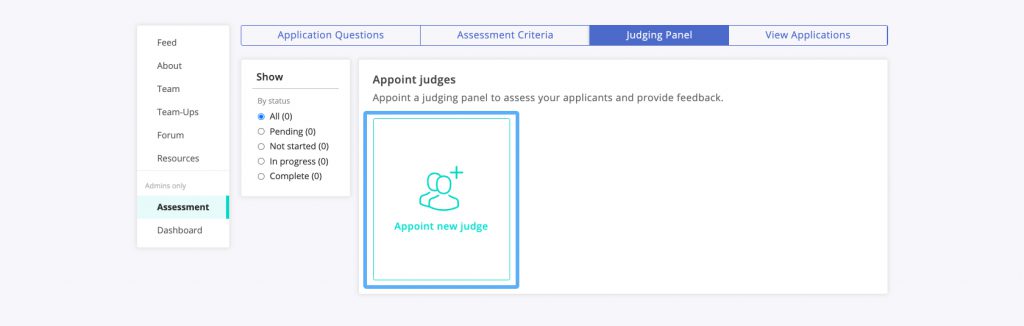
6. In the Judging Panel tab, you can seamlessly invite judges to join your judging panel.
Start by clicking the “Appoint new judge” button, at which point a pop-up form will appear. From this form, you can invite judges in the following ways:
Manually typing or pasting email addresses
This is the best option for inviting a smaller number of judges who are not currently WorldLabs users.
In the white box under the “Type or paste email addresses” heading, you can type or paste the email addresses of the prospective judges you wish to include. You can include multiple email addresses, provided that you include a comma between each email address in the box, or press space or enter after typing each email.
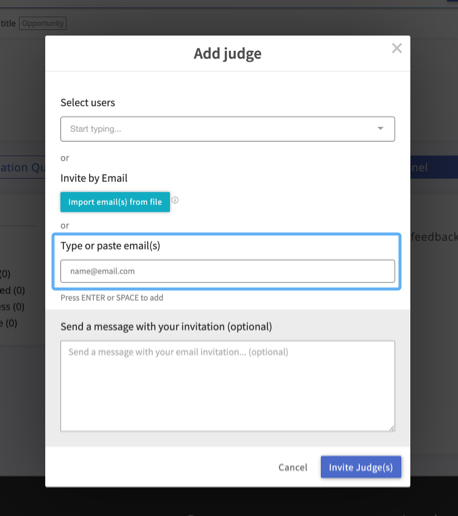
Once you have typed or pasted in all the relevant emails, you can add a personalised message and click the “Send invitation(s)” button at the bottom. The recipients will then each receive an email inviting them to sign up to WorldLabs (if they are not already WorldLabs users) and join your judging panel.
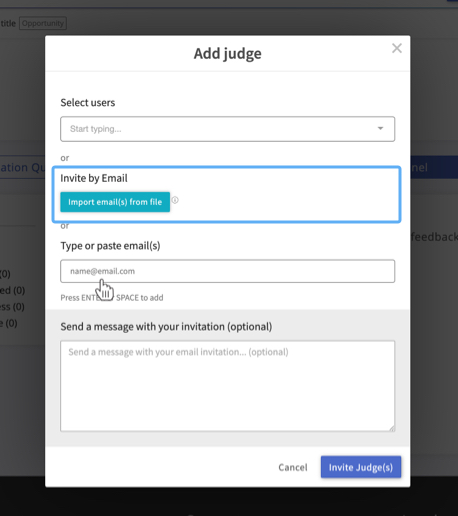
Bulk importing email addresses from a database
This is the best option for simultaneously inviting a large number of judges who are not currently WorldLabs users.
You can import email addresses in bulk using text files or CSV (comma-separated values) files, as long as each file contains only email addresses, arranged in a single column and each separated by a single comma or space.
Once you have typed or pasted in all the relevant emails, you can add a personalised message and click the “Send invitation(s)” button at the bottom. The recipients will then each receive an email inviting them to sign up to WorldLabs (if they are not already WorldLabs users) and join your judging panel.
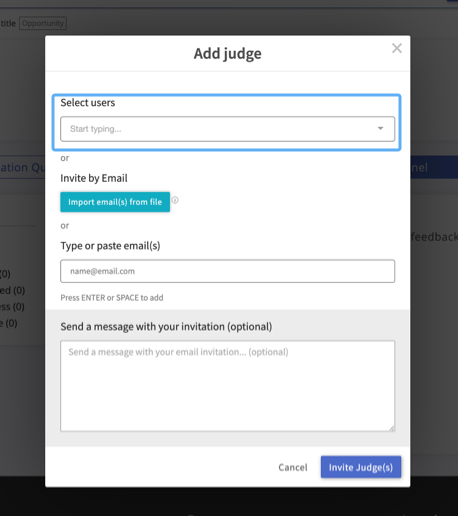
Select existing WorldLabs users
This is the best option for inviting judges who are already WorldLabs users, as long as you know the specific names of the relevant user profiles.
In the white box under the “Select an existing WorldLabs user” heading, you can type the names of the judges that you wish to invite to join your judging panel.
As you start typing a particular name, a drop down box will appear with suggestions of any corresponding profiles that have been created by existing users.
Once you see the relevant user, click their name and the box will then save your selection. If you want to add another user, you can start typing a new name and follow the process set out above.
Once you have typed or pasted in all the relevant emails, you can add a personalised message and click the “Send invitation(s)” button at the bottom. The recipients will then each receive an email inviting them to log into WorldLabs and join your judging panel.
From this tab, you can also track whether judges have accepted your invitation to join the judging panel, as well as the progress of any judges that have already joined your panel. To do so, use the various filters in the box under the “Show” heading on the left hand side of the tab.
- “Pending” refers to prospective judges who have not yet accepted your invitation.
- “Not started” refers to judges who have accepted your invitation to join your judging panel, but not yet started assessing applicants.
- “In progress” refers to judges on your panel who have started, but not completed assessing applicants.
- “Complete” refers to judges on your panel who have completed their assessments of all relevant candidates.
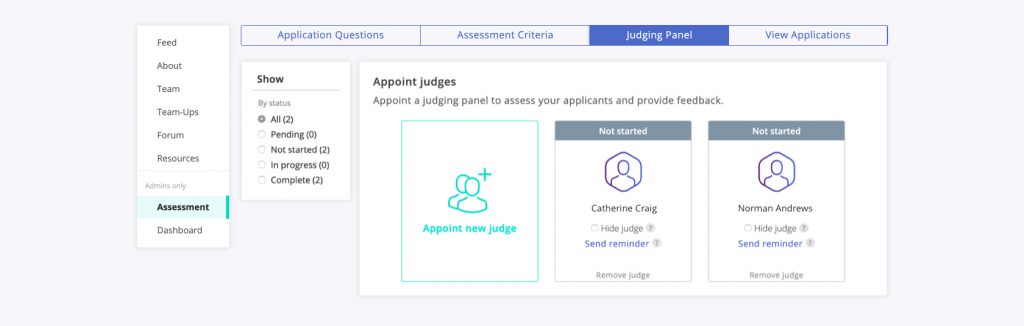
Each judge will be represented by a “card”. You can send a personalised reminder to prompt each judge to complete their assessments by clicking “Send a reminder” on each judge’s card.
You can also opt to hide each judge’s identity from public view (otherwise the judge will appear in the “Team” tab of the fixed menu on the left hand side of your opportunity page.
7. Once applicants start submitting their applications, you will be able to review these via the View Applications tab.
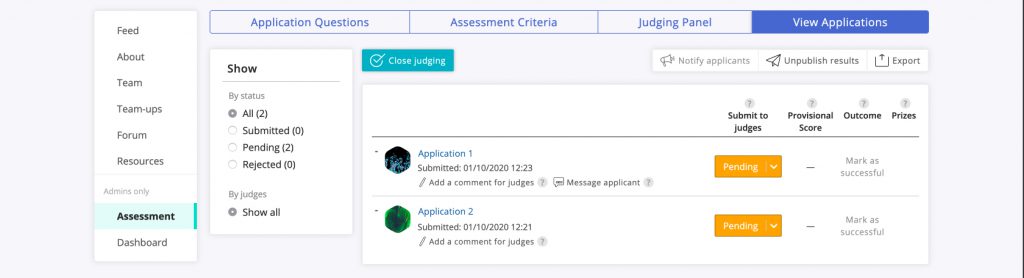
To view each applicant’s application – including any attachments provided in support of their application – click the name of the individual (profile) or organisation (page) that has applied. Doing so will reveal links to the information provided by each applicant as part of their application.
Next, you will need to decide whether each incoming application should be submitted to the judging panel for judging. To submit an application to your judging panel, click the dropdown box in the “Submit to judges” column (which will initially show as “Pending”), and click “Submit”. Your judges can then start judging applications.
8. As the judges start to provide their feedback, you will be able to view the provisional scores awarded to each applicant in real time, in the “Provisional Score” column within the View Applications tab (the provisional score represents the average score designated by the judges that have completed the judging process to date).
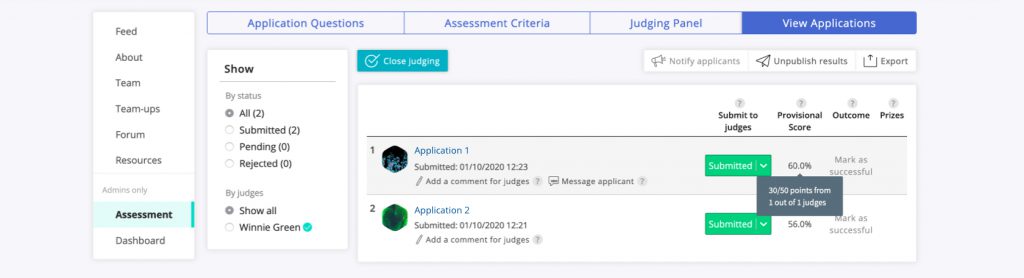
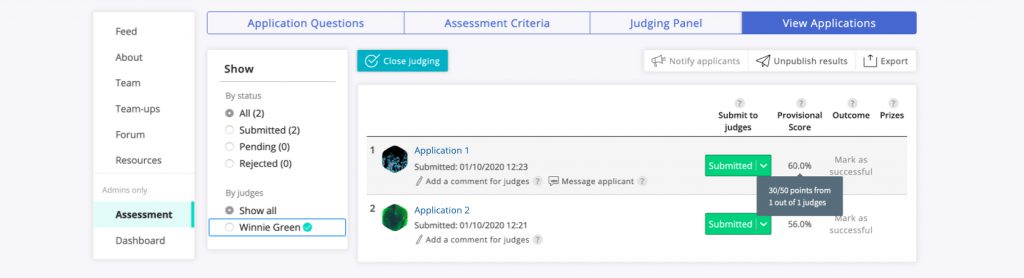
To view a judge’s specific comment on an application, click the name of the relevant judge in the “Show” box – located towards the left of the View Applications tab – to reveal all of the applications that the judge has been allocated.
In the Progress column, a green tick indicates that the judge has finished assessing a particular application, whereas incomplete assessments are represented by a progress bar. You can access a judge’s specific comments on each application by clicking “View assessment” in the “Judge’s assessment” column next to the relevant application.
You can also exclude scores allocated by specific judges by ticking the “Exclude scores” box towards the top of the tab.
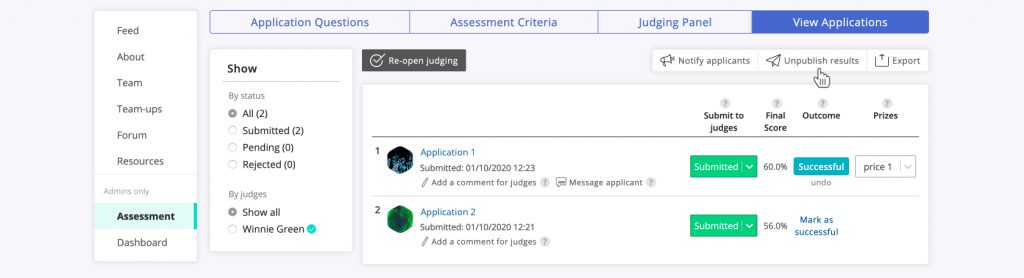
9. Once all the judges have provided their feedback, you can click the “Close judging” button. Doing so will mean judges will no longer be able to submit their votes and the “provisional score” column will show the final scores.
Once you have taken this step, you will be able to:
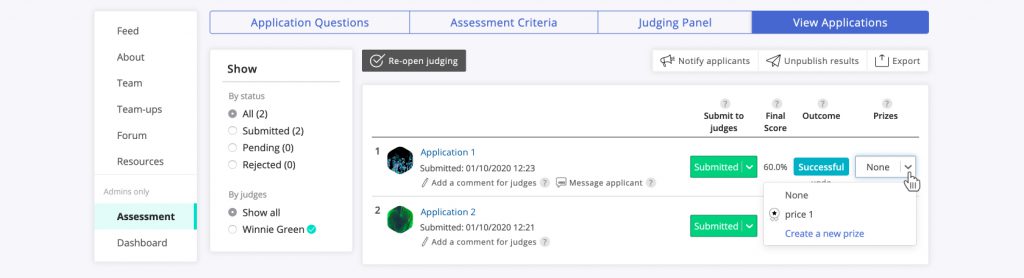
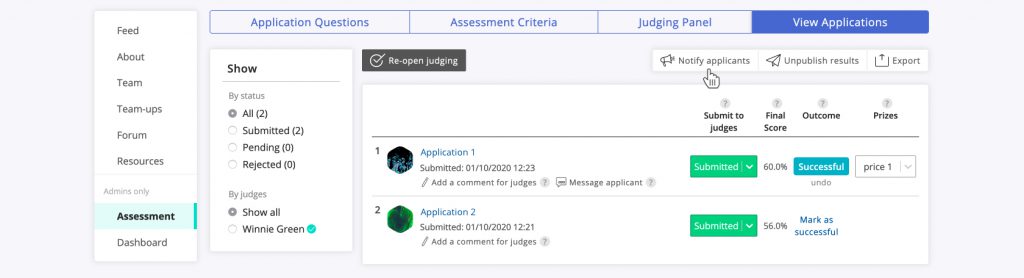
- Specify which applications are successful (by clicking “Mark as successful” in the “Outcome” column)
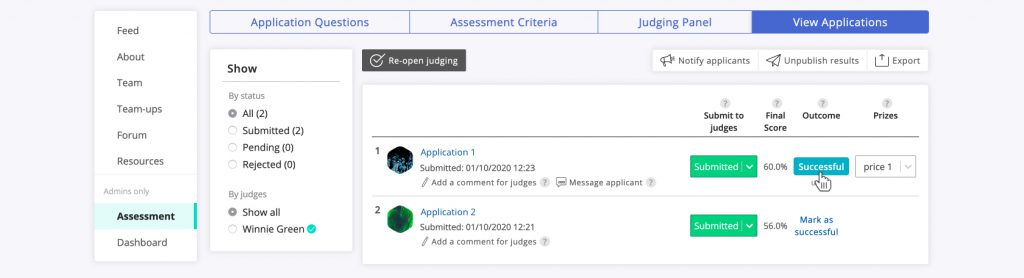
- Allocate prizes via the “Prizes” column (if applicable)
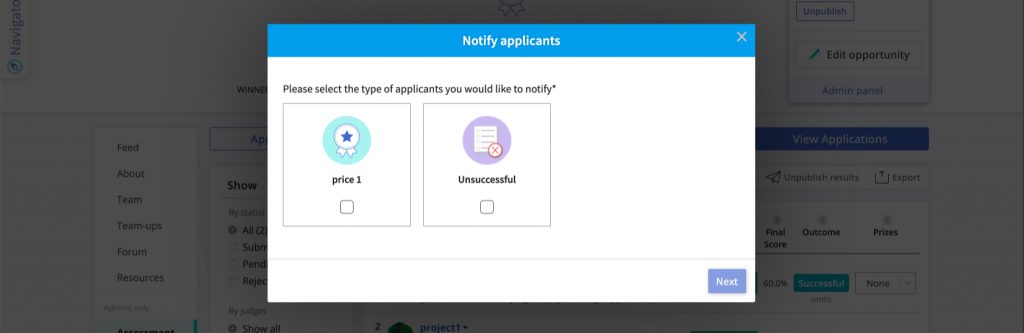
- Notify applicants of their outcome via email (by clicking the “Notify applicants” button at the top of the tab). Note that you will have the option to send personalised messages to successful applicants, prize recipients and unsuccessful applicants.
- Publish the results on your opportunity page (by clicking the “Publish results” button at the top of the tab). This means that the successful individuals, organisations or projects will be showcased at the top of your opportunity page to encourage visitors to view – and potentially interact with – these successful applicants once the opportunity has ended.