
1. Create an event
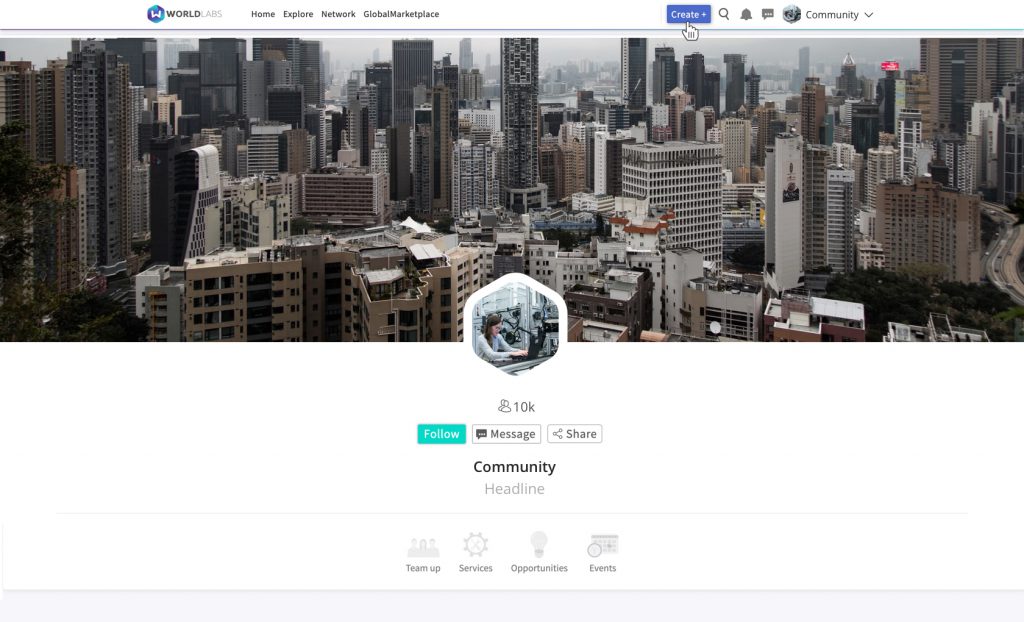
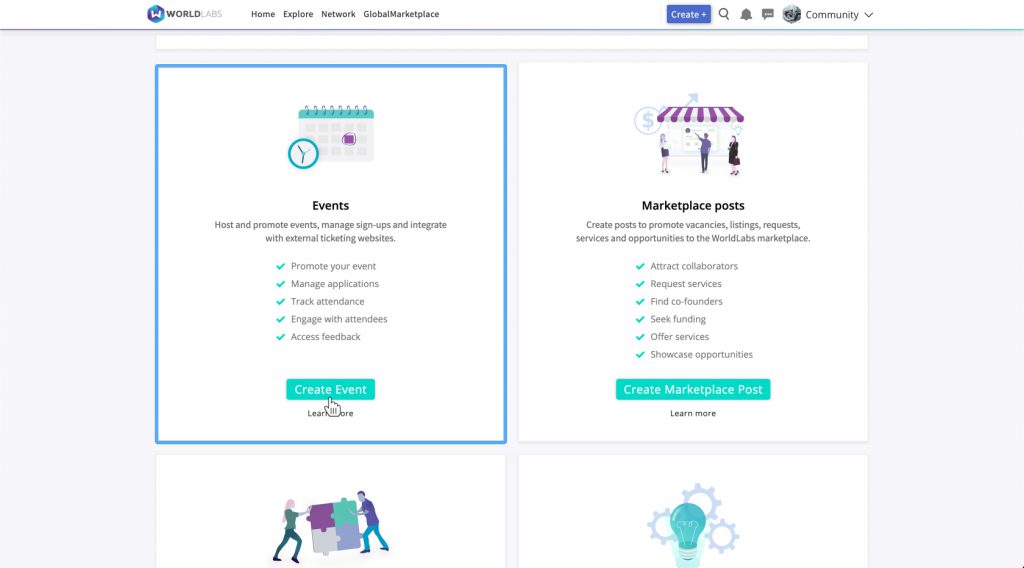
Once you have set up your WorldLabs page/community, you will need to click the “Create” button, which you will find in the fixed menu bar at the top right of your screen. Next, click “Create Event”.
2. Event title and location
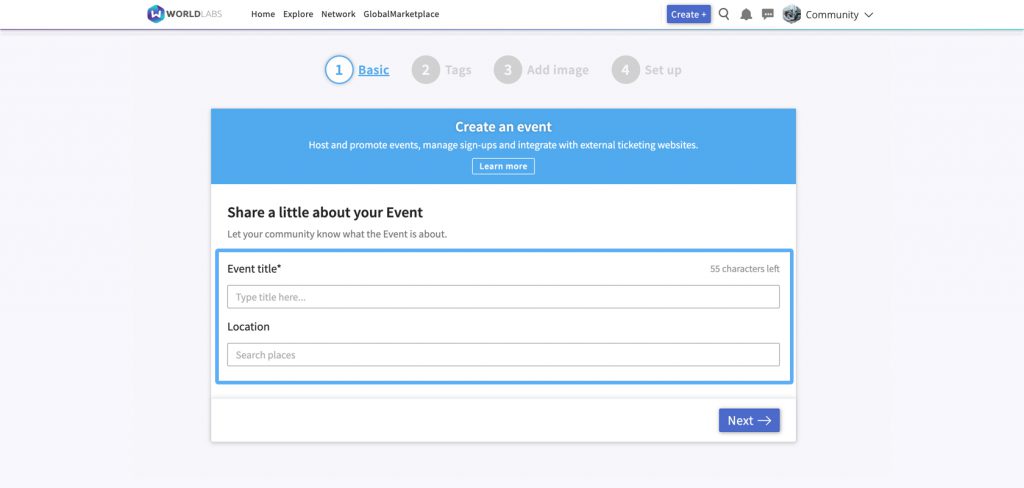
Firstly, you will be asked to add an event title and you will have the option to specify the event location. The event title will appear at the top of your event page, and your location – if you specify one – will appear publicly on the event page.
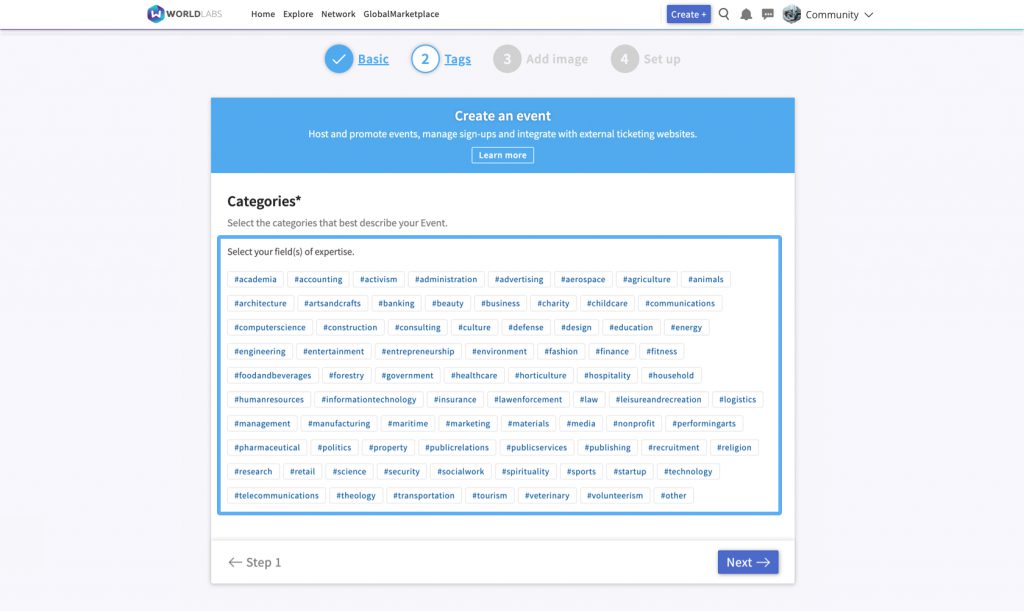
3. Select relevant tags
Next you can select tags that will help prospective attendees to understand what your event is about and whether it has launched, including category tags, sector tags and a status tag. These tags will also help to ensure that your event appears in relevant searches across the platform (unless you choose to make your event private).
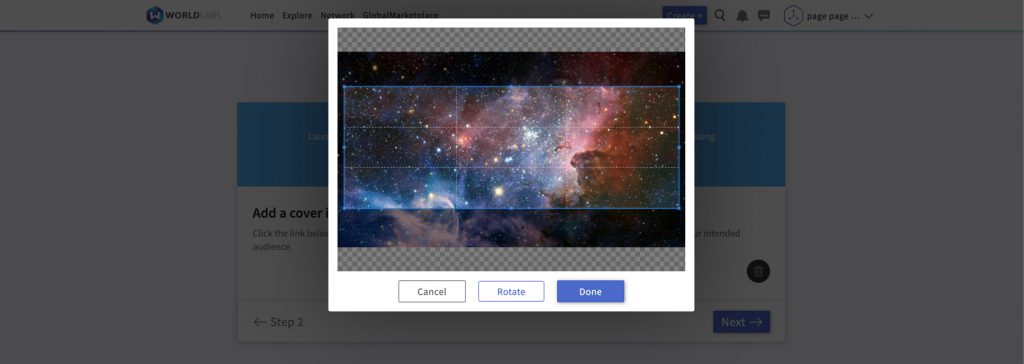
4. Add cover image
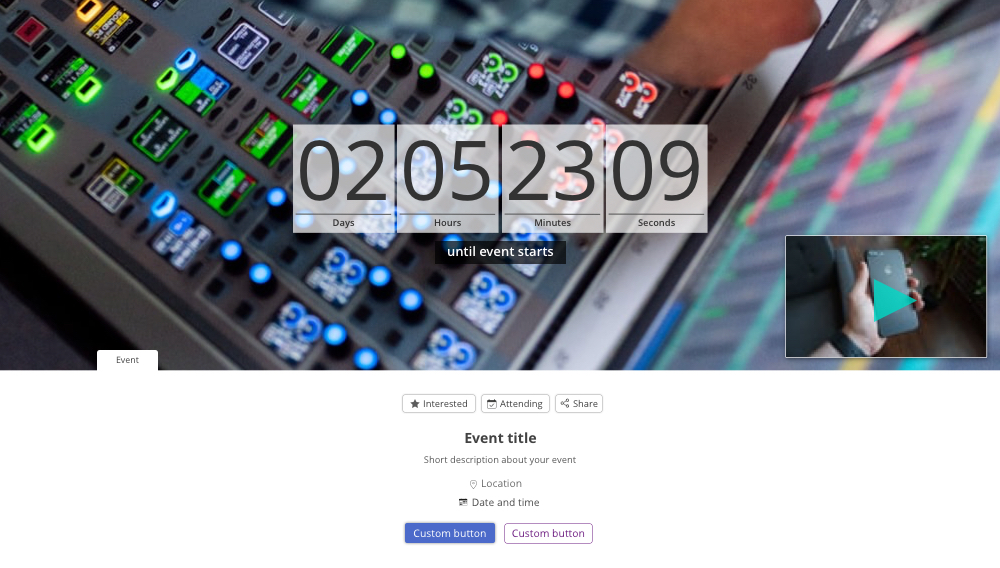
Once you have selected your categories and clicked “Next”, you can upload an image from your computer, which will then appear as a banner at the top of your event page. The dimensions of this banner are 1920px X 698px, but you can also crop larger images during the upload process.

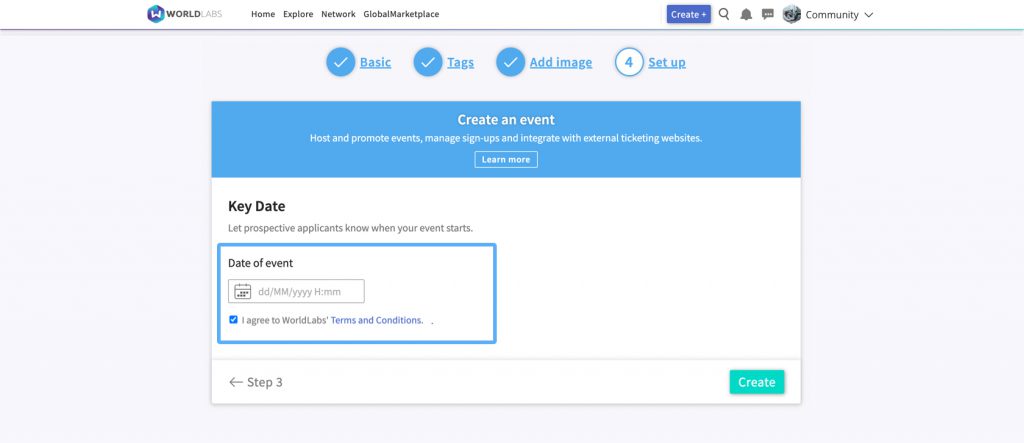
5. Select a date
Next, you can specify the date of your event (note that you can amend this date at a later stage). Before moving on, you will also need to tick the box to signify your agreement with our terms and conditions.
You can then click “Create”, which will generate your event page.
6. Accessing your event page
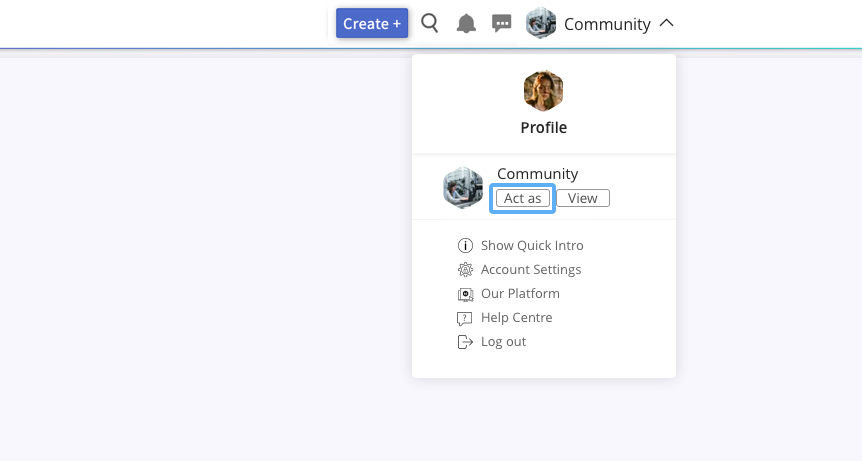
Once you have created your event, it will appear in the dropdown menu that can be accessed by clicking the name of your page/community in the menu bar (on the top right of your screen).
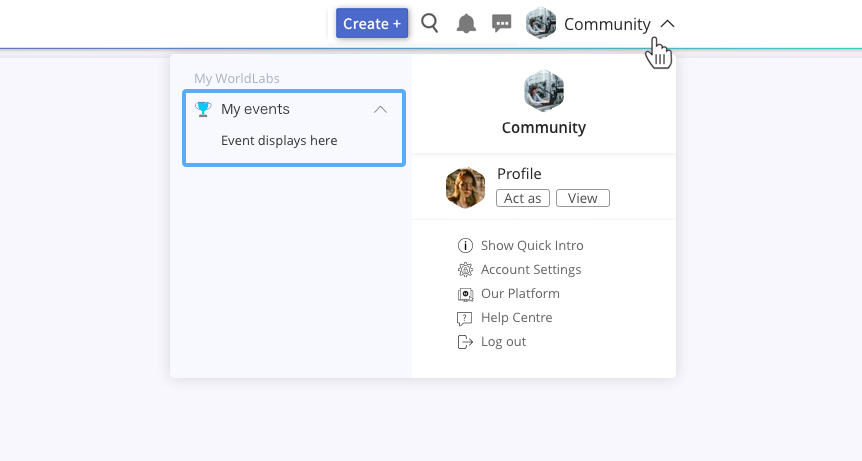
If instead of your page/community name, you see your profile name on the menu bar, then you will first need to click your profile name and from the drop down menu that appears, click the “Act as” button underneath your page name.
Next, you can start to customize your event by filling in further details and branding your page.