1. Visit the Team tab of your project page
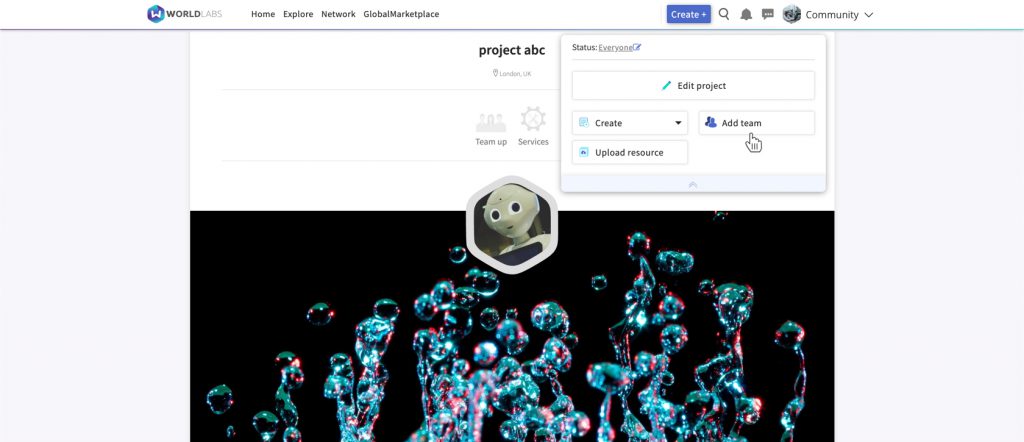
Once you have created and customised your project, you can appoint team members to work on the project with you. To do so, click your project’s admin panel, which sits beneath the menu bar at the top right of your screen. To add a team member, click “Add team member”, which will take you to the “Team” section of your project page.
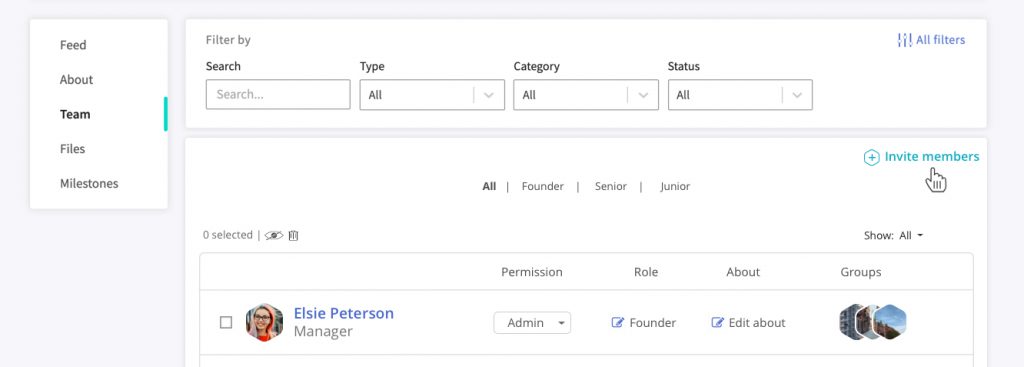
2. Invite team members to collaborate on your project
Next, click the green “Invite members” button, at which point a pop-up box will appear. From this box, you can:
- Type or paste the email addresses of the team members you wish to invite.
- Import a database containing the email addresses of the team members you wish to invite.
- Start typing the names of each team member and select the relevant users from the dropdown box that appears (this will only work if your team members are already WorldLabs users).
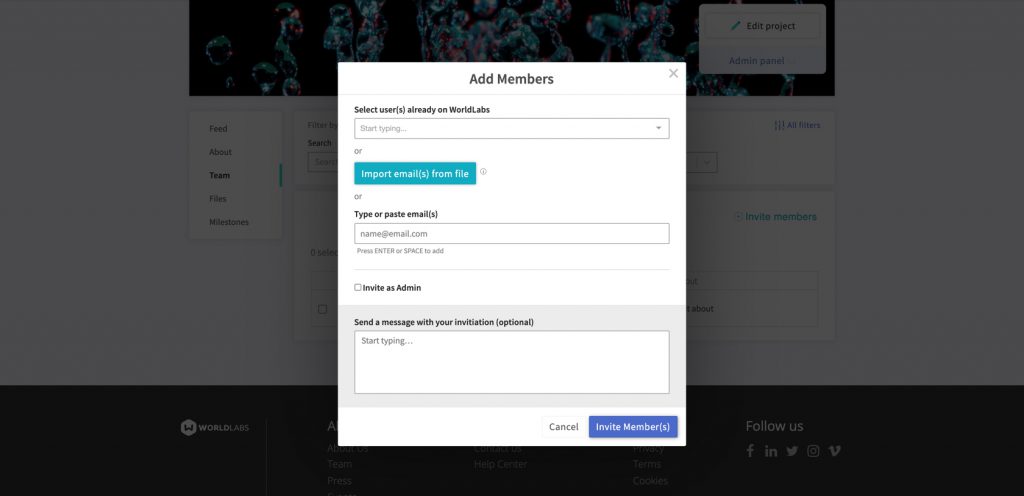
Note that if an intended team member is not already a registered WorldLabs user, they will first need to join WorldLabs and set up a profile before they can join your project team. If you invite them via email, they will be automatically guided through this process by us.
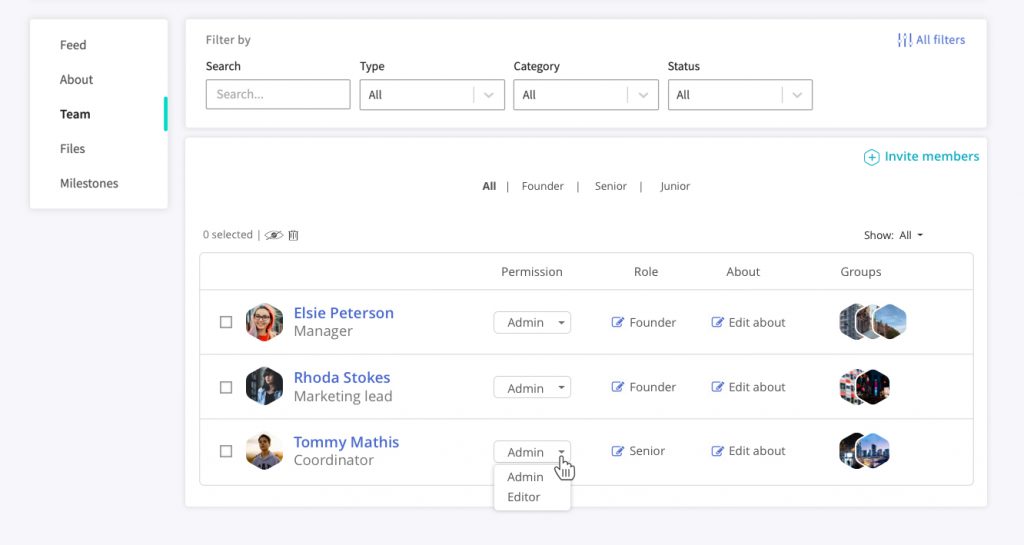
3. Set permissions and team member roles
Once a user accepts an invitation to join your project team, they will appear on the Team section of your project page. At this point, you can:
- Specify whether each team member will have admin rights. Only admins can delete the project or invite new members.
- Specify the role of team member.
- Provide a little more information about each team member.