1. Home
  2. Pages / Communities
  3. Customise and brand your page

Customise and brand your page

Once you are on your page/community, click “Edit page”, which appears beneath the fixed menu bar at the top right of your screen.This will open the edit form, which is split into the following categories:
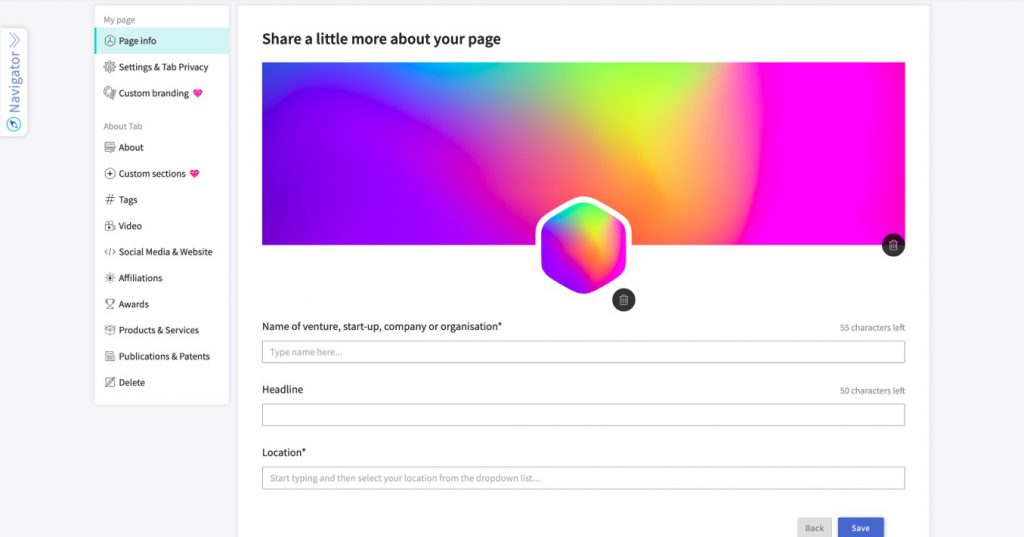
Page info

From this tab, you can amend the name of your start-up, company or organisation; add a headline, which will then appear underneath your page name at the top of your page and at the top of posts published by your page; specify a location (if applicable); provide a summary of what your page represents; specify a contact number (this is not mandatory); and state the year in which your start-up, company or organisation was founded.

Settings and tab privacy

From this tab, you can:Set up an optional “Member Request Code”, which prospective members will then need to provide when requesting to join your page/community. Without this code, members will be unable to request to join your page/community. If members use the code, you will still need to approve their request to join.

Determine whether the feed or the About section of your page/community should automatically open when someone visits your page/community.

Select who can start forum discussions.

Choose whether you want to allow page/community members to invite others to join your page/community.

Select who can post in the community marketplace (members can only post if your page has been upgraded to a community).

Determine who can see each of the tabs within your page/community.

Custom branding:
This tab is only available if your page has been upgraded to a community.

Once unlocked, in this tab you can upload a logo that will appear within the sign-up/log-in box that prospective members will see when they request to join your community. 

You can also upload a logo that will appear next to your community name at the top of any groups, opportunities and events launched through your community. 

In addition, you can customise the invitation email that prospective members will receive when you or one of your community members invites them to join your community, as well as the welcome email they will receive once they have joined your community. Note that the sections in square brackets in the invitation email template (e.g. [First name] and [Inviter name]) will automatically generate the correct names when the emails are sent to prospective members, where applicable.
About:
in this tab, you can include text, images and hyperlinks to provide detailed information about your community. This content will be visible within the “About” tab of your page/community.
Custom sections:
 in this tab, you can create additional sections of content that will appear as dropdown boxes within the “About” tab of your page/community, underneath the content you created in the above step. For each section, you can specify a title, subtitle and description, and upload an image to accompany the text. To create additional distinct dropdown boxes, click “Add a new section” at the very bottom of the tab.
Tags:
 from this tab, you can change or supplement the sectors and categories that you selected during the page/community creation process, and specify keywords that highlight the fields that are relevant to your page/community. These tags will appear in the About section of your page/community, under the “Tags” heading on the right-hand side.
Video:
from this tab, you can upload a 60 second “elevator pitch”, which will appear on top of your cover image at the top of your page/community. You can also upload additional videos to promote your page/community. These videos will appear in the video gallery in the About section of your page/community.
Social Media & Website:
 from this tab, you can direct your page/community visitors to a selection of related social media profiles and website URLs.
Affiliations:
from this tab, you can highlight any individuals or organisations with which your organisation is affiliated. These affiliations will then appear in a box on the right-hand side of the About section of your page/community.
Awards:
 from this tab, you can include details of any awards that your organisation has received. Details of these awards will then appear towards the bottom of the About section of your page/community.
Products & Services:
from this tab, you can include details of your organisation’s products and/or services, which will then appear towards the bottom of the About section of your page/community.
Publications & Patents:
if you click “Add item”, a form will appear. You can use this form to fill out details of any publications or patents that your organisation owns or has contributed to, or resources that you would like to recommend.
Delete:
 if you want to delete your page/community, you can do so via this tab. 

Note that once you delete a page/community, you will lose any data associated with it.

Was this article helpful?