1. Create a page
You can only create a page whilst “acting as” your profile. Once you are acting as your profile, start by clicking the “Create” button, which you will find in the fixed menu bar at the top right of your screen. Next, click “Create Page/Community”.
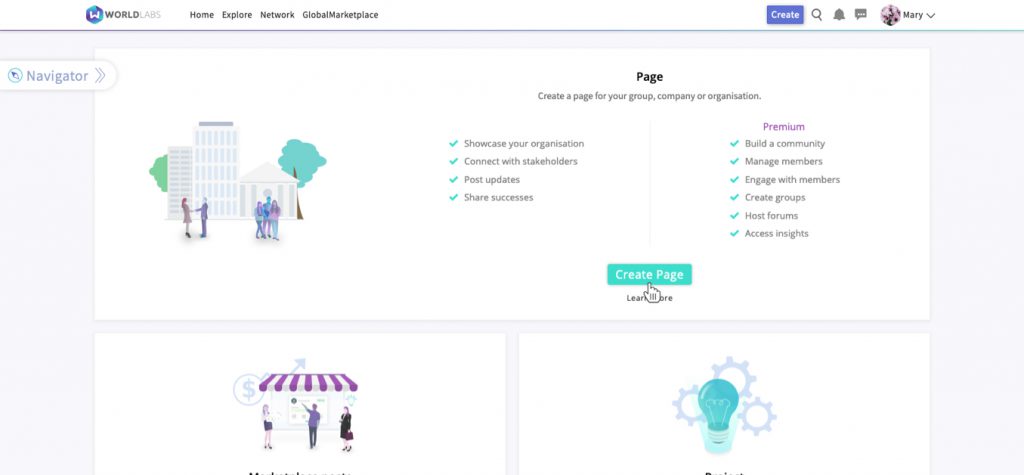
2. Page name and location
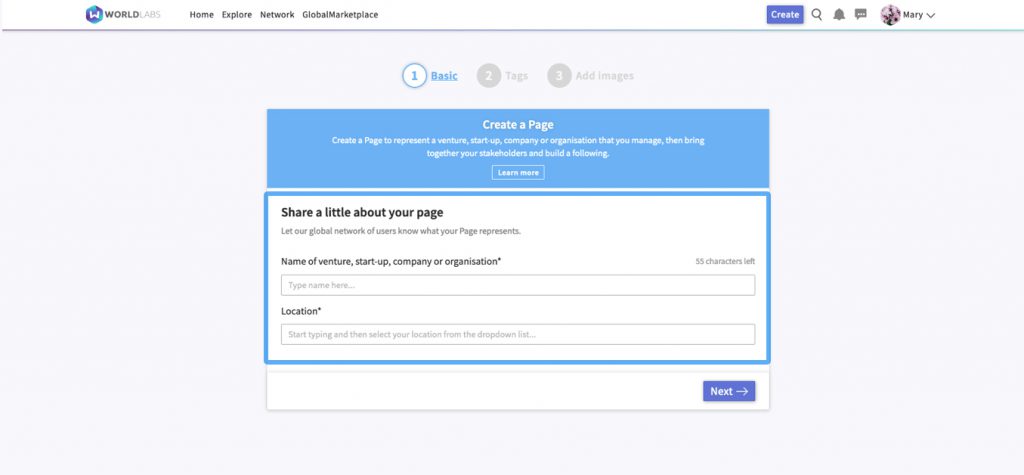
Firstly, you will be asked to choose a name for your page and specify a primary location for your start-up or organisation. The name and location will appear at the top of your page (and the name will also appear above any posts you publish whilst acting as your page).
3. Categories and sectors
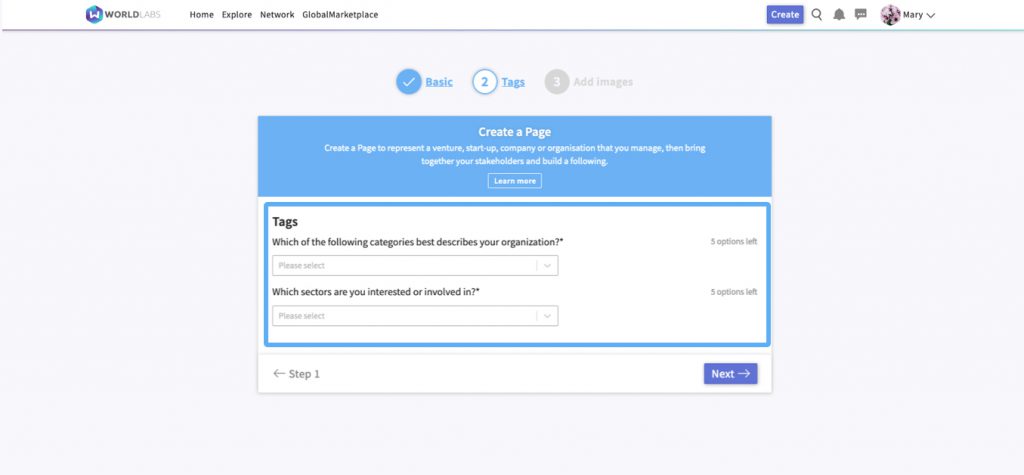
Once you have clicked “Next”, you can select one or more categories and sectors that will help prospective members to understand what your page/community is about. These categories and sectors will also help to ensure that your page/community appears in relevant searches across the platform.
4. Add cover image
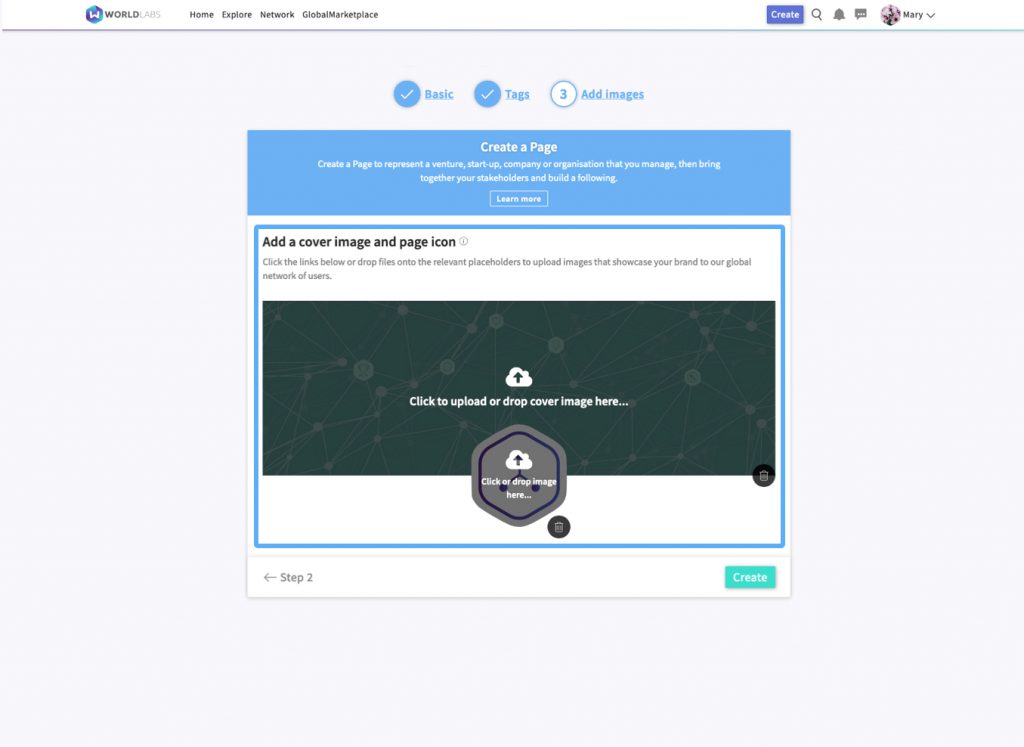
Once you have selected your categories and sectors and clicked “Next”, you can upload an image from your computer, which will then appear as a banner at the top of your page/community. The dimensions of this banner are 1920px X 698px, but you can also crop larger images during the upload process.
5. Access your page/community
Once you have created your page/community, you will automatically be acting as that page/community. You can then access your page/community at any time via the dropdown menu on the right of the fixed menu bar at the top of your screen.
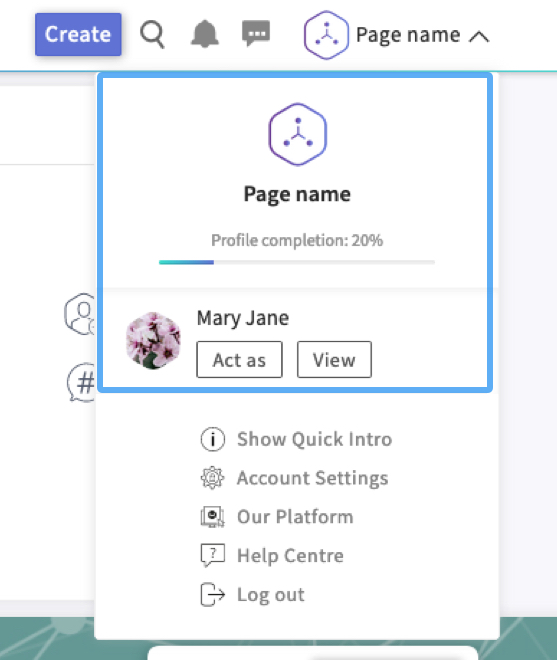
If you are acting as your profile and want to visit your page/community, click your profile name on the right of the fixed menu bar at the top of your screen, then from the dropdown menu, you can choose whether to view or act as your page/community.
Next, you can start to customise your page/community by filling in further details.
